Birds in flight are among the most mesmerizing subjects in wildlife photography. Their graceful motion, powerful wings, and split-second movements create scenes full of energy and elegance. But capturing these moments isn’t easy—it takes practice, timing, and the right technique.
Over the years photographing birds in the wild across Nepal, I’ve learned that success in flight photography comes down to preparation and patience. Here are some essential tips from the field to help you improve your shots.
1. Know Your Subject
Before you even lift the camera, observe. Learn the behavior of the birds you want to photograph. Certain species have predictable flight patterns—some hover, some glide, others dive suddenly. Understanding their behavior helps you anticipate their movements and position yourself accordingly.
2. Use the Right Camera Settings
Shooting birds in motion requires speed and precision. Here’s a solid starting point:
- Shutter Speed: At least 1/2000 sec to freeze fast wing movements.
- Aperture: f/5.6 to f/8 for a balance of depth and sharpness.
- ISO: Adjust based on lighting. Use auto-ISO if necessary, but try to keep noise levels low.
- AF Mode: Continuous/Servo autofocus with tracking enabled.
- Drive Mode: High-speed burst mode to capture a sequence of frames.
These settings may vary depending on lighting and gear, but fast shutter and reliable autofocus are key.
3. Focus on the Eyes
Even in motion, the eyes are the most expressive and important part of the image. A blurry wing can convey motion, but blurry eyes can ruin a shot. Set your focus point slightly above center if the bird is flying upward and be ready to adjust as it moves.
4. Track and Pan Smoothly
Once the bird is in frame, follow its motion with a smooth panning technique. Move your camera at the same speed and direction as the bird to maintain focus and reduce motion blur. Practice helps—especially with fast-moving species like swifts or raptors.
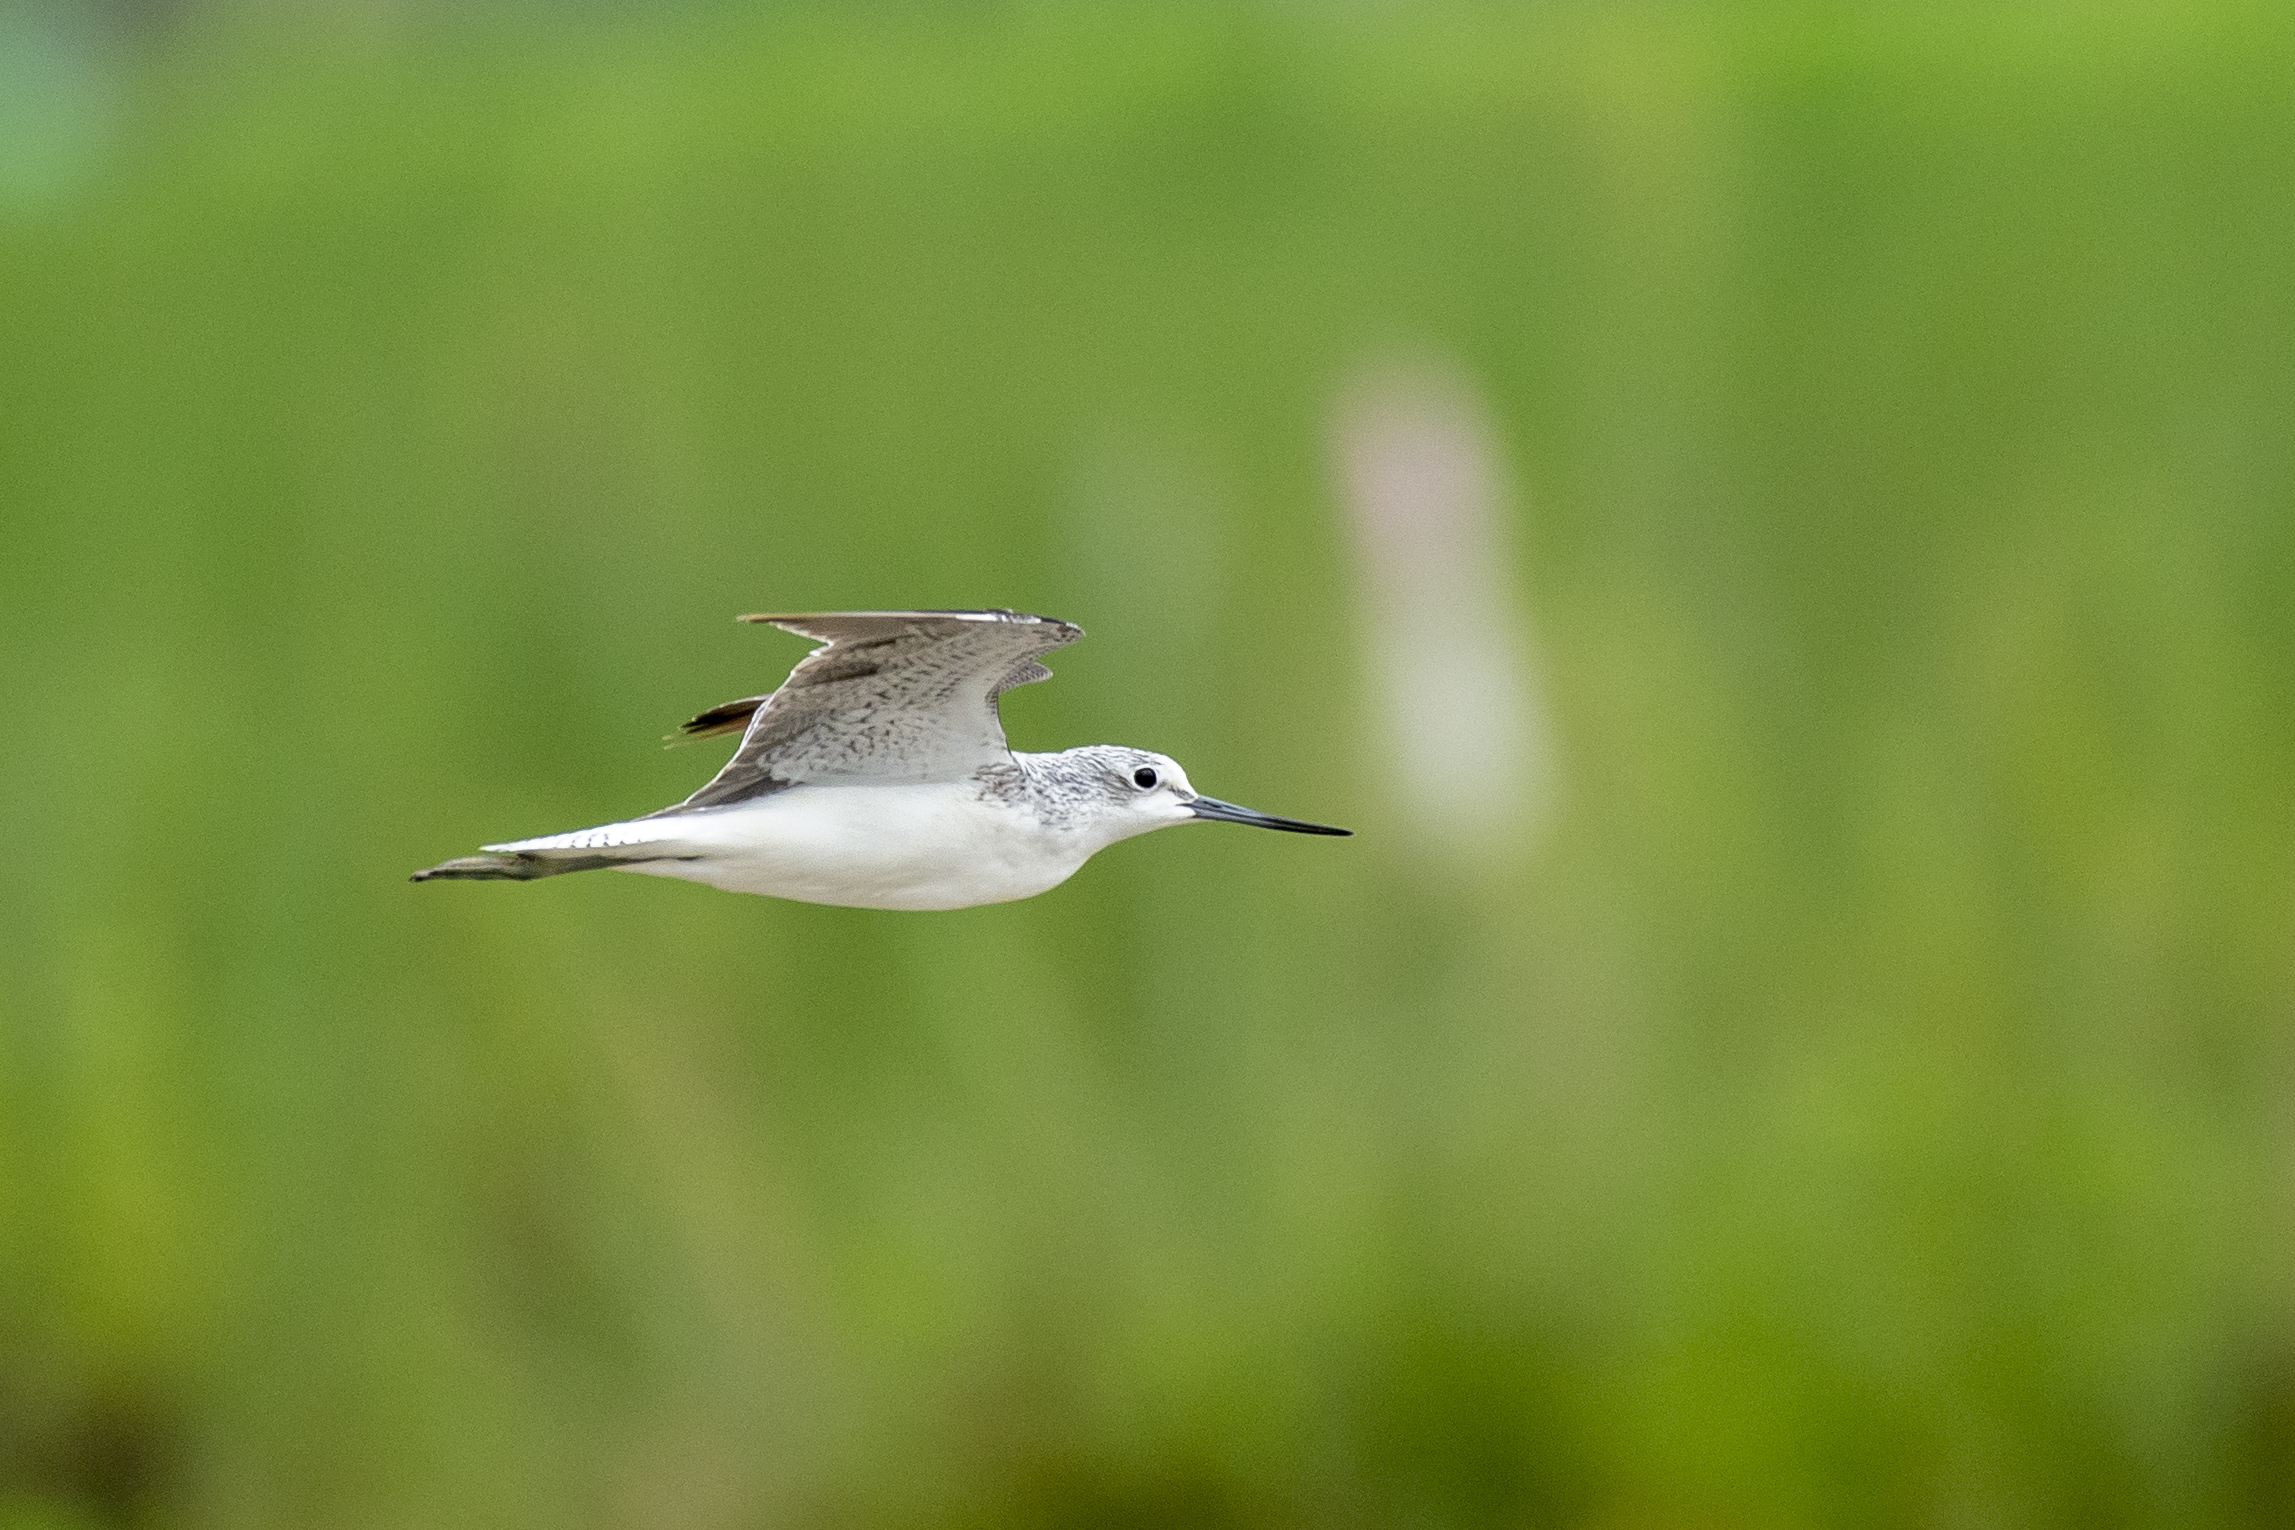
5. Choose the Right Background
A clean, contrasting background (like blue sky, water, or distant hills) helps your subject stand out. Busy or dark backgrounds can make it hard to separate the bird from its surroundings, especially if it’s mid-flight.
6. Light Makes the Difference
Golden hour—just after sunrise and before sunset—is the best time to shoot birds in flight. Soft light reduces harsh shadows and highlights feather detail beautifully. Position yourself with the sun behind you to illuminate the bird evenly.
7. Practice and Patience
Capturing the perfect flight shot rarely happens by accident. It takes hours of waiting, missed shots, and experimenting with angles and settings. Don’t get discouraged. Every attempt sharpens your skill and brings you closer to that one unforgettable frame.
Final Thoughts
Photographing birds in flight is a rewarding challenge. It’s where technical knowledge meets the unpredictability of nature. When everything comes together—the timing, the focus, the light—you’ll capture a moment of wild grace that speaks louder than words.
Whether you’re just starting or refining your craft, remember this: nature rewards those who wait, watch, and learn.